
Description
A compact semicircular card block with a narrow horizontal slot
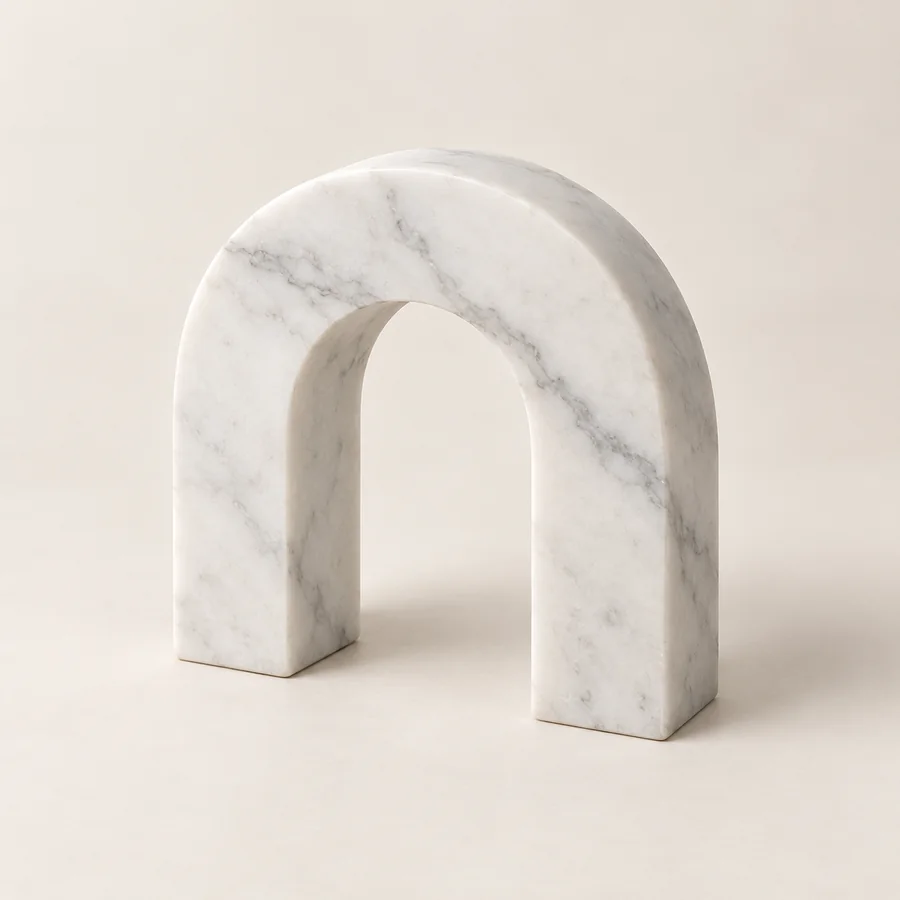
The marble business card arch stand proposal uses a solid semicircular block with one narrow horizontal slot between its curved stone faces. The repeated curved outline and central opening give the display its distinctive shape. White marble is proposed for a custom piece for a desk or reception counter, with final material, measurements and finish agreed by quotation. The illustration presents a stone card-display design rather than stocked merchandise, included printed cards or a verified capacity for a particular business-card format.
Start with the business cards you actually use
Record the width, height and thickness of the intended cards, including any coating, textured stock or layered finish. Share whether the slot is intended to display a single card or a small group, and provide the combined thickness where relevant. A card’s nominal paper dimensions do not establish how it will sit within a narrow stone opening. Ask the maker to review a sample or accurate specification before approving the slot. Printing and separate paper inserts are included only if expressly identified in the quotation.
Separate the outer arch from usable card space
The suggested overall format is approximately 12 × 4 × 8 cm. These indicative custom measurements describe the complete stone block rather than the internal slot length, width or depth. Ask for a drawing showing the semicircular profile, opening and surrounding stone independently. Include clearance for placing and removing the actual cards without forcing their edges. If a larger format is required, review the slot, curved faces and supporting footprint together instead of assuming the same outside proportions will suit the revised paper size.
Review the opening between the curved faces
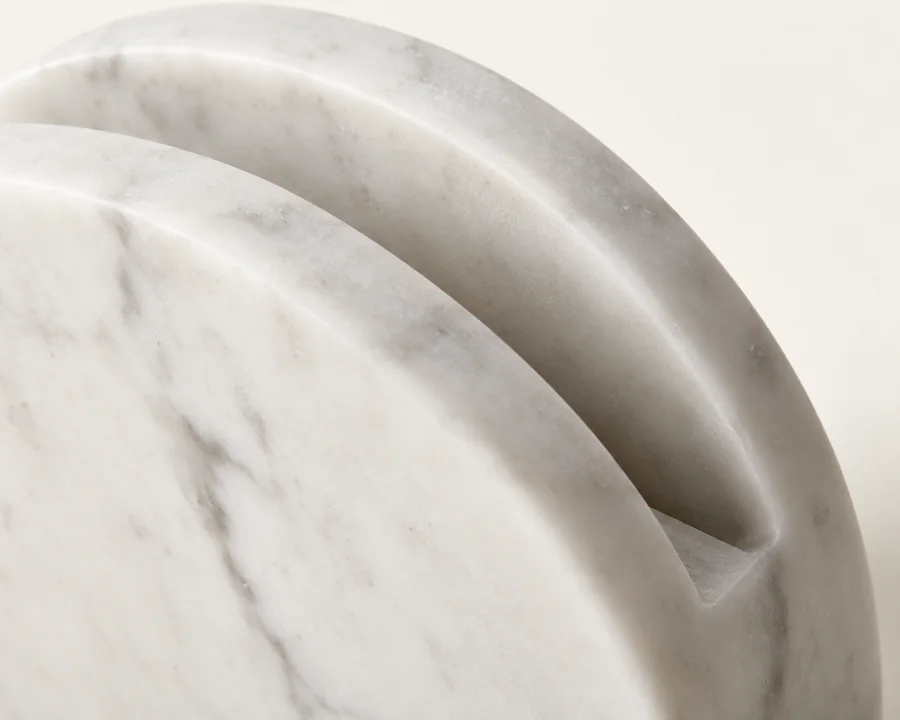
The close detail focuses on the card slot where the solid curved stone faces meet it. Request a section showing the proposed seating depth, upper edge treatment and the amount of card that remains visible. Agree the contact detail appropriate to the selected marble and paper stock. Generated shadows do not establish exact slot tolerances or demonstrate an easy fit for a finished card. Keep the approved opening dimensions with the full drawing, particularly if the preferred paper thickness changes during the custom design process.
Keep important artwork above the stone line
Mark the part of the card that needs to remain visible, such as a name, logo or contact line. Compare a paper mock-up with the proposed insertion depth from the direction a visitor will approach. A card can physically fit an opening while its lower information is obscured by the stone. Have the maker review the visible area and desired seating angle with the actual artwork. The illustration does not establish legibility for every card layout or confirm that the display is readable from both sides.
Plan access for changing or taking a card
Explain whether the stand will display a reference card or hold cards that visitors are expected to remove. Those uses call for different considerations around the slot and surrounding space. Leave room above and beside the piece for the intended paper movement. The carved opening is fixed unless a separate adjustable fitting is agreed in advance. No card count or removal performance is established by the generated view. Resolve the requested use and usable clearances with the maker before confirming the custom stonework.
Choose marble beside the printed colours
Representative white-marble references can help you compare natural markings with the card artwork and reception finishes. Veins across the curved faces can add another line beneath the printed information. Decide whether a quieter selection or a more noticeable pattern suits the complete display, then agree the finish and acceptable variation. The rendered surface does not identify an exact block or final polish. Where several stands are commissioned, discuss the desired relationship between them without expecting identical natural grain in every piece.
Protect the desk and remove paper before handling
Use a suitable level supporting surface and discuss removable contact pads appropriate to its actual finish. Confirm any supplied pads or requested inserts in the quotation. Remove the cards before moving the stone and lift the broad base according to the maker’s instructions. Avoid pulling the stand by a card or treating the slot as a carrying grip. Clean the empty stone with the approved method and let it dry before replacing paper. The illustration does not demonstrate a tested support rating or compatibility with every counter surface.
Request the arch stand with the artwork and card specification
Send the card measurements, visible artwork area, intended display use, quantity and delivery postcode through a marble business-card stand enquiry. Confirm the final slot drawing, selected stone, finish, supplied components, price, production timing, packing and delivery. Images are AI-generated design proposals rather than photographs of available stock. Follow the maker’s maintenance advice alongside the Natural Stone Institute general marble-care guide for the stone component.
Compare slots for a calendar or a larger desk sign
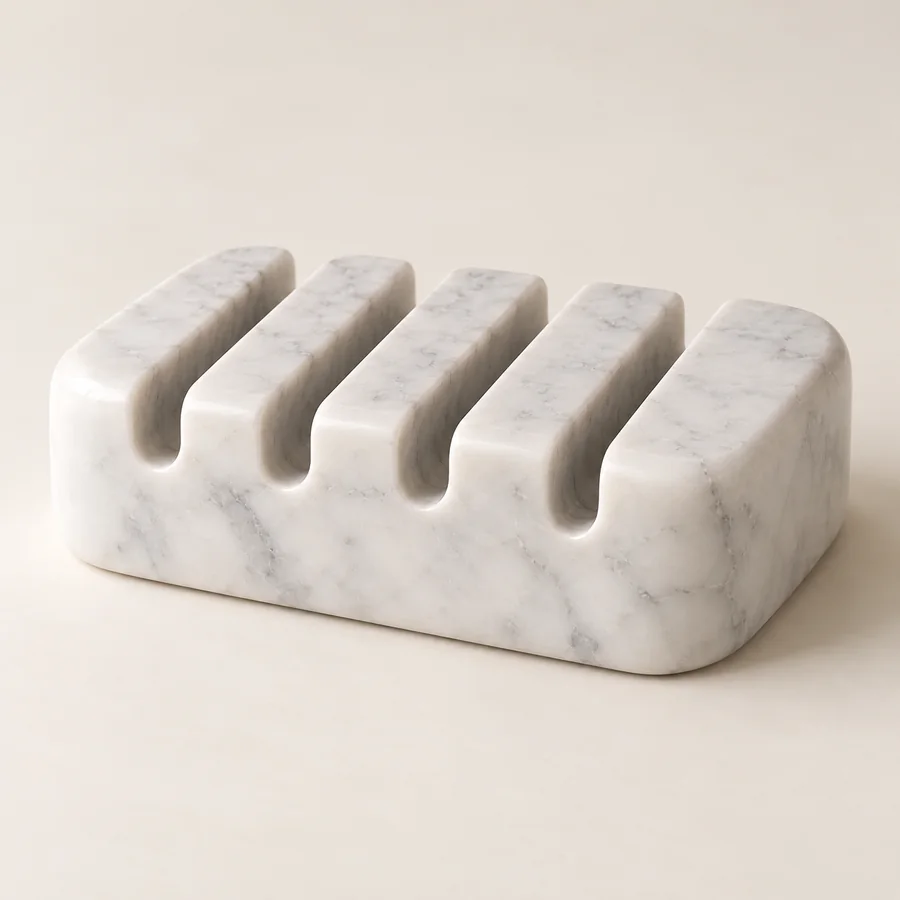
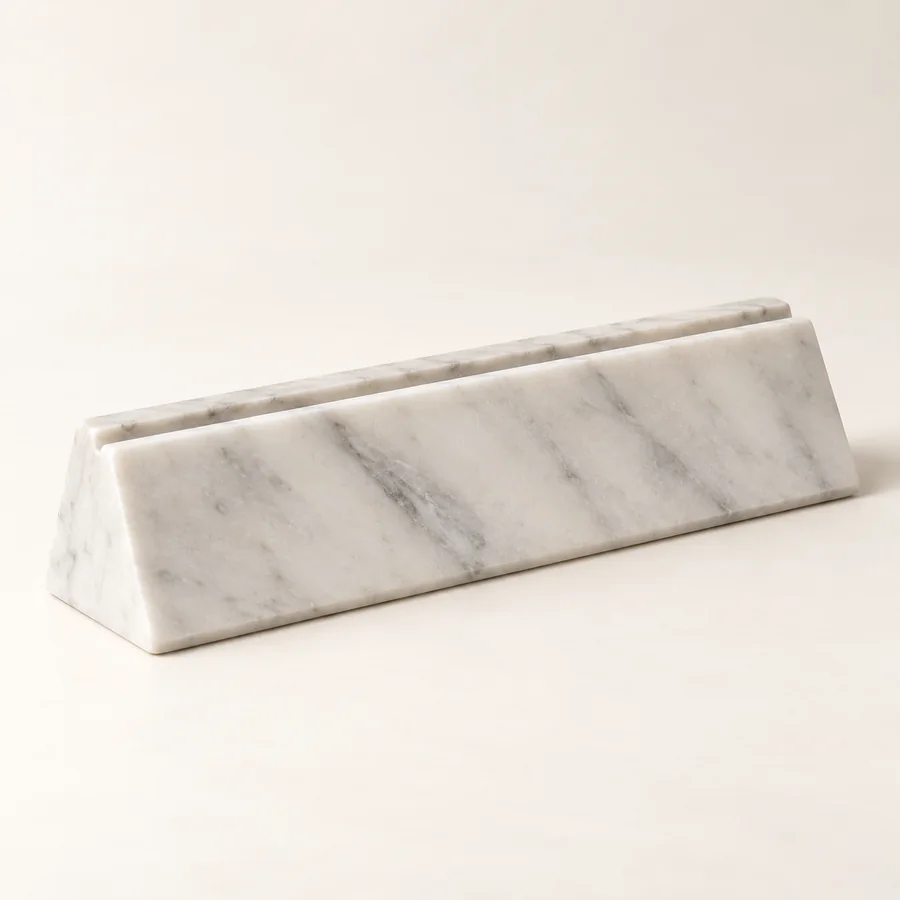
The desktop calendar-card base proposes two stepped grooves on a low rectangular plinth. The desk nameplate base uses a long wedge with a narrow top sign slot. Compare the intended inserts and confirmed visible areas with the compact arch before choosing a custom display.

Reviews
There are no reviews yet.