
Description
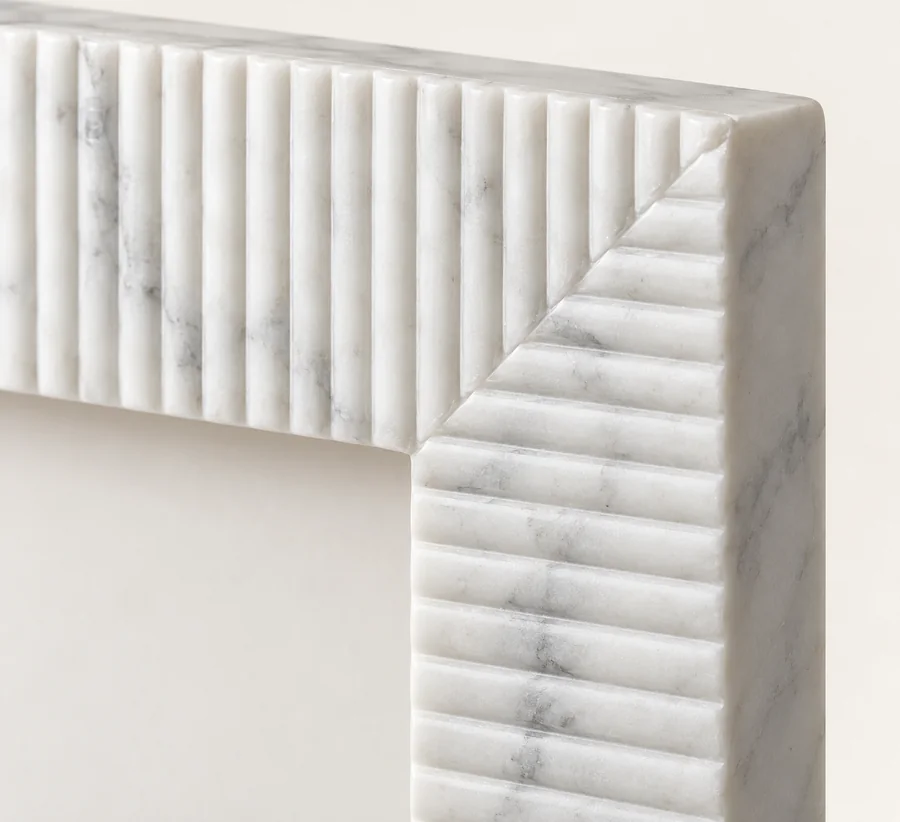
Fine vertical reeds along a rectangular stone border
The ribbed rectangular marble photo frame proposal gives a familiar rectangular surround a more detailed surface through fine vertical reeds. The repeated lines create a carved border around the intended image while retaining a clearly defined outside format. White marble is proposed, with actual material, final measurements and finish confirmed by custom quotation. The empty opening in the generated illustration shows the stone design rather than a complete supplied assembly, standard print fit or frame available in stock.
Match the opening to the intended picture
Measure the full print or artwork and separately record the area that should remain visible. A border can cover part of the image, so important details near its edges should be considered before the stone is cut. Have a framing specialist review the aperture, fitting space and complete assembly with the maker. The rectangular outline does not establish a standard photograph size, glass dimension or backing format. Keep the picture plan with the approved frame drawing so the usable opening follows the actual image requirements.
Confirm outside size and usable fitting space
The suggested planning format is approximately 22 × 17 × 3 cm. These are indicative measurements for a custom commission rather than dimensions verified on a finished frame in stock. Ask the maker to distinguish the external rectangle, visible aperture, reeded border, relevant rebate or fitting space and actual stone thickness. The outside height and width do not equal the usable photo dimensions. If the frame is resized, review the image area and carved border together before approving the revised stonework.
Review the reeded corner in a close drawing
Ask for a detail showing how the fine lines finish near a corner and relate to the plain picture opening. The intended spacing, edge character and transitions should be recorded for the selected marble and dimensions. A quieter texture and a more pronounced reed can create different effects at the normal viewing distance. Generated shadows cannot establish the exact carving depth or final finish. Keep the approved corner treatment with the overall elevation, especially if the size or border proportions change.
Compare the texture with the picture and room
Look at the proposed image and reeded surround together rather than choosing them separately. A detailed photograph and a quieter artwork may create different visual relationships with the repeated stone lines. Include the normal viewing height and actual dimensions of nearby accessories in a room sketch. Leave the border visible if the texture is the feature you want to emphasise. The generated setting is a visual reference rather than an included collection or a tested placement for the finished frame.
Agree all components of the framing assembly
Glass, backing, a stand and hanging hardware are included only when agreed in the quotation. Have the framing specialist specify the requirements for the actual picture, aperture and stone surround, including assembly access and relevant clearances. The illustration does not demonstrate the inclusion or fit of separate framing parts. If wall mounting is intended, a specialist should select fixings for the finished weight and wall type. Record the responsibilities for stonework, framing materials and final assembly before ordering.
Select marble across the fine carved lines
Natural veins may cross several reeds and add another pattern around the picture. Review representative white-marble references beside the intended image colours, supporting furniture and room finishes. Discuss whether restrained markings or a stronger natural pattern suits the fine texture, subject to the available selection. Confirm the surface finish and acceptable variation with the maker. The generated white surface does not identify the exact block, final polish or grain relationship of the commissioned surround or any components made separately.
Plan the actual support and handling method
Ask for the finished weight, complete display footprint and support arrangement to be specified. Keep the stone away from exposed shelf or console edges where it could be knocked, and discuss secure placement for a busy reception location. The reeded border and picture opening should not be assumed to be carrying grips. Obtain assembly, moving and unpacking instructions for the completed construction, and confirm any suitable removable furniture protection in the quotation. The rendering does not demonstrate testing or suitability for every surface shown.
Request the reeded rectangle with a measured aperture
Send the picture measurements, planned setting and preferred corner detail through a ribbed rectangular marble-frame enquiry. Confirm final dimensions, selected stone, finish, supplied components, price, production timing and delivery arrangements. Images are AI-generated design illustrations rather than photographs of stock. Follow the maker’s care instructions for the stone and framing materials; the Natural Stone Institute material-care guide provides general marble guidance alongside the specific advice for the finished assembly.
Compare repeated lines with other rectangular details
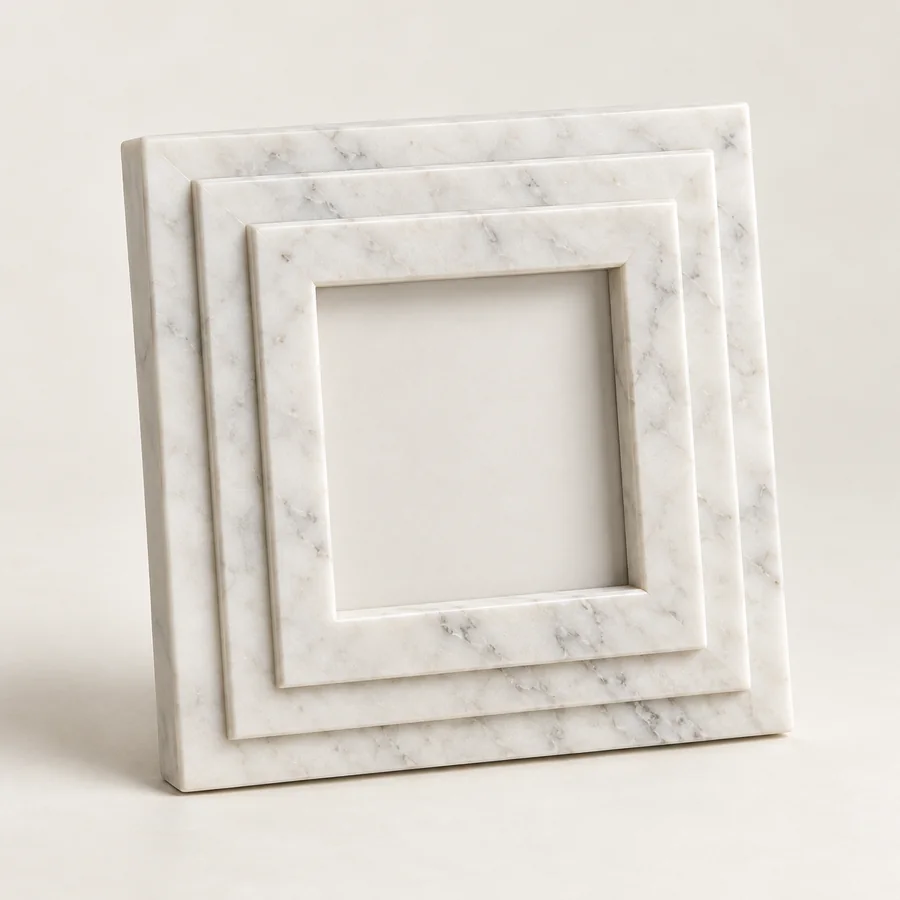
The square-step marble frame repeats three stepped border levels. The wave-border photo frame softens the outside outline with a ripple. Compare their measured picture openings and complete fittings with the reeded rectangle before choosing a custom design.

Reviews
There are no reviews yet.